- Use an alpha formatPNG, PSD, or TIFF, not JPEG
- Layer itPlace above your footage
- VerifyCheck with the transparency grid
Broken transparency in Premiere shows up as a black box, a white box, or a gray-and-white checkerboard. Each has a different cause.
Which Formats Keep Transparency?
| Format | Transparency | Notes |
|---|---|---|
| PNG | Yes | Best everyday choice for logos and cutouts |
| PSD | Yes | Keeps layers; Premiere asks how to import them |
| TIFF | Yes, when saved with an alpha channel | Common from design and print tools |
| JPEG | No | Transparent areas are filled, usually with white or black |
| GIF | Single transparent color only | Jagged edges; use PNG instead |
No Premiere setting restores transparency to a JPEG. Ask for a PNG, or remove the background in an image editor and export a PNG.
Black Background? Check What Is Underneath
Transparent areas show the tracks below. With nothing below, Premiere shows black.
- Put your footage on V1.
- Put the PNG on V2 or higher.
- If the footage shows through in the Program Monitor, transparency is working.
Turn On the Transparency Grid
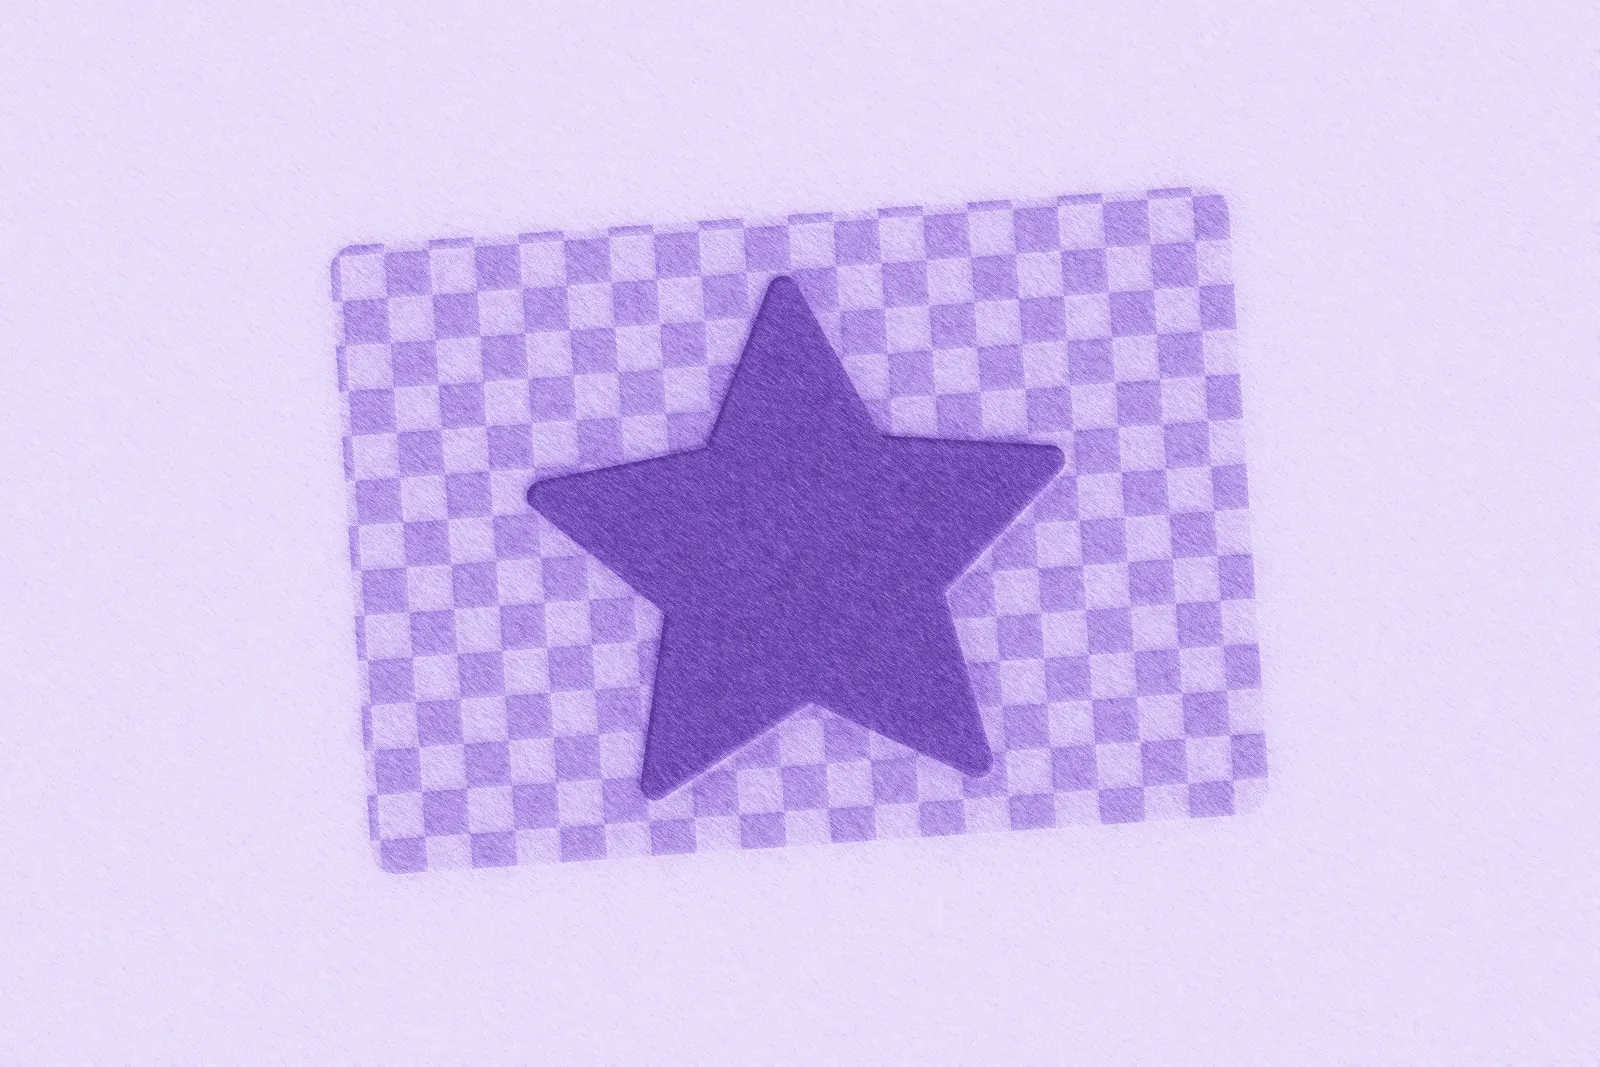
Click the Settings (wrench) button below the Program Monitor and choose Transparency Grid. Transparent areas now show a checkerboard instead of black. Turn the grid off before judging colors.
Checkerboard Inside the Image? The File Is Not Transparent
Many "transparent PNG" search results have the checkerboard drawn into the pixels, so it sits on top of your footage.
To test, open the file in an image editor or preview app. A real transparent image shows the app's own background or checkerboard, and the squares are not selectable as part of the image. If the pattern is part of the picture, find another source or remove the background yourself.
Importing Layered PSD Files
Premiere asks how to import a PSD:
- Merge All Layers: one flattened clip with transparency. Simplest for a finished logo.
- Merged Layers: chosen layers, flattened into one clip.
- Individual Layers: each selected layer becomes its own clip, for animating parts separately.
- Sequence: each layer on its own track in a new sequence.
Hidden Photoshop layers are left out of merged imports, so check layer visibility before saving.
Fixing Edges, Halos, and Inverted Alpha
- Right-click the image in the Project panel and choose Modify > Interpret Footage.
- In the Alpha Channel section:
- Uncheck Ignore Alpha Channel; when checked, it discards transparency.
- Check Invert Alpha Channel only if the subject is transparent and the background is solid.
- Try the premultiplication option if you see a dark or light fringe around the edges.
- Click OK.
A remaining halo was usually baked in by the app that made the file. Re-export it with a clean transparent background, ideally at final size.
Copying Transparent Images from a Browser
Depending on the browser, source app, and operating system, a copied image may reach the clipboard flattened onto white or black. Saving the original PNG can keep the alpha channel when copying does not.
Clipboard It saves clipboard image data to a file and imports it into your chosen bin. Transparency depends on what the source app put on the clipboard, so check important logos with the Transparency Grid. See how to paste images into Premiere Pro.