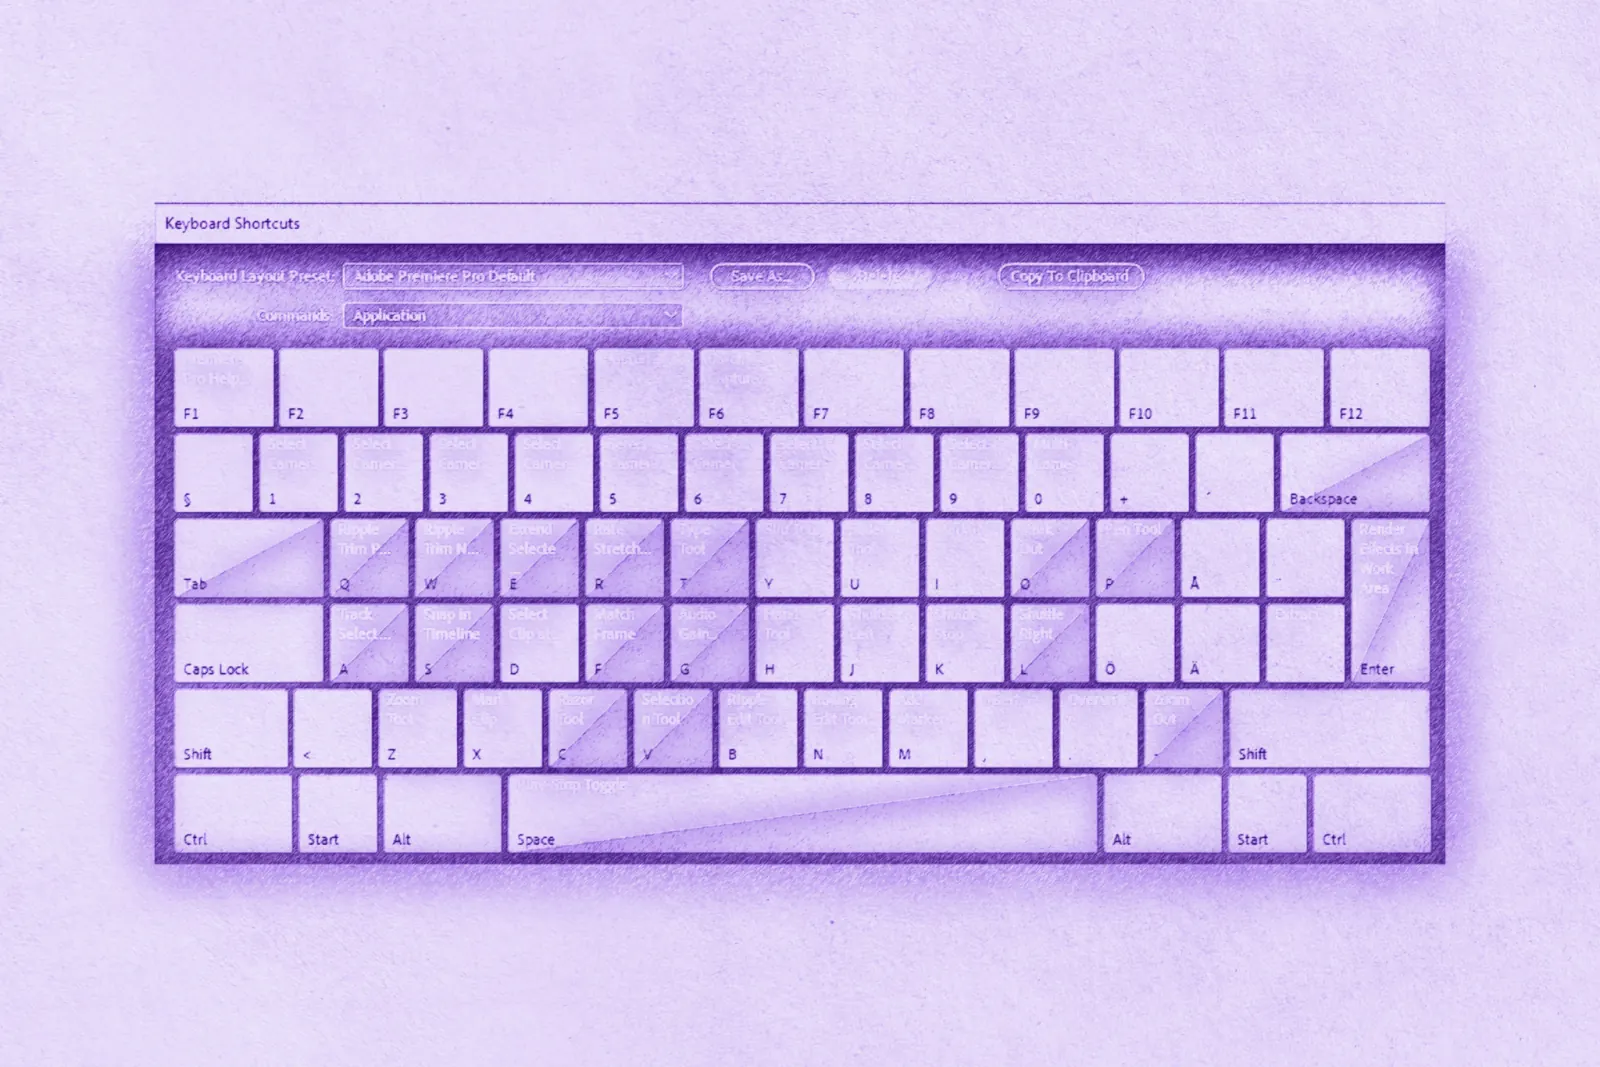
- Show speedTime Remapping on the clip
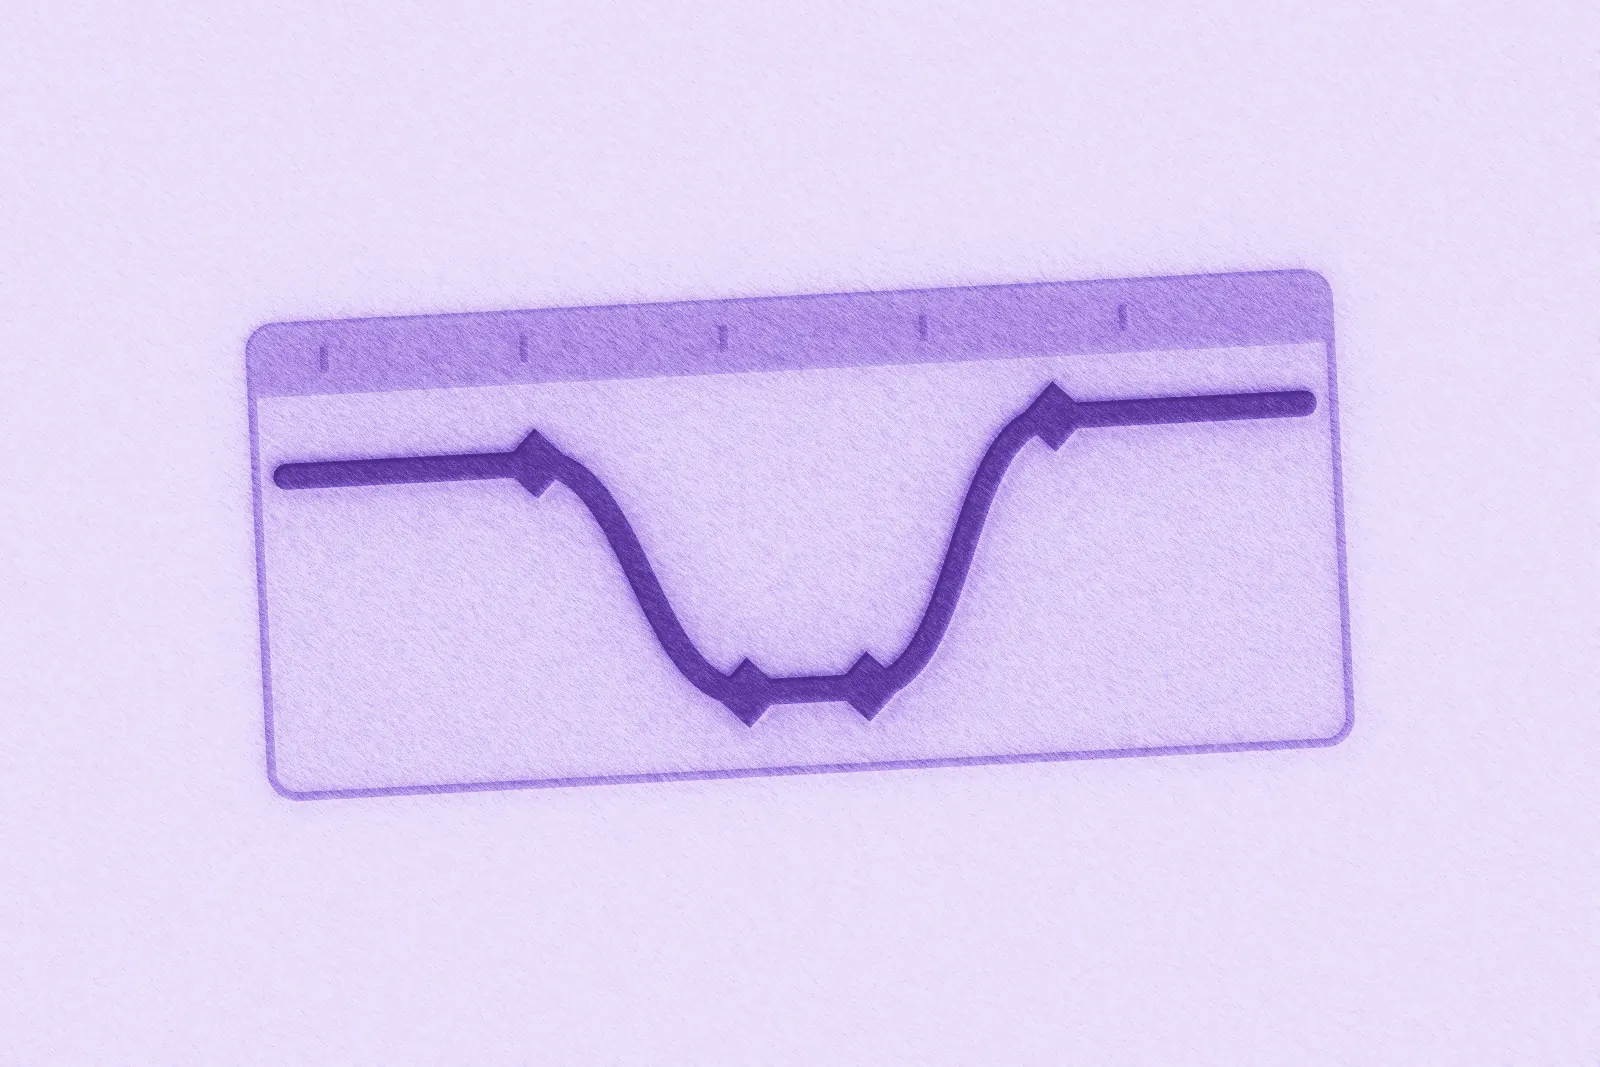
- Add keyframesMark where speed changes
- Ramp itSplit keyframes for smooth transitions
A speed ramp changes a clip's speed partway through, such as a dip into slow motion at the key moment. In Premiere, build it with Time Remapping on the timeline.
Constant Speed vs Speed Ramps
| Tool | What it does | Use it for |
|---|---|---|
| Speed/Duration (Cmd+R / Ctrl+R) | One speed for the whole clip | Simple slow or fast motion |
| Rate Stretch tool (R) | Stretches a clip to fill a gap, changing its speed | Fitting a clip to a fixed length |
| Time Remapping | Speed that changes over time with keyframes | Speed ramps |
Step 1: Show the Speed Line
- Make the video track taller: double-click an empty area of the track header, or drag the boundary between tracks.
- Right-click the fx badge on the clip.
- Choose Time Remapping > Speed.
A horizontal line, the rubber band, appears across the clip. Its height is speed, starting at 100%.
Step 2: Add Speed Keyframes
- Move the playhead to where the speed change should start.
- Cmd-click (Mac) or Ctrl-click (Windows) the rubber band to add a keyframe, or use the Pen tool (P).
- Add a second keyframe where the change should end.
- Drag the rubber band between the two keyframes down to slow that section or up to speed it up. A tooltip shows the percentage.
Slowing a section lengthens the clip; speeding up shortens it. Leave room after the clip, or trim afterwards.
Step 3: Make the Ramp Gradual
By default, speed jumps instantly at each keyframe.
- Drag one half of a keyframe away from the other. The keyframe splits into two markers and the rubber band slopes between them.
- A wider gap gives a longer transition.
- To curve the slope, click between the split halves and drag the blue handle that appears.
To move a whole keyframe without splitting it, hold Option (Mac) or Alt (Windows) while dragging.
Choose a Time Interpolation Method
Slowing footage below its native frame rate makes Premiere create in-between frames. Select the clip and choose Clip > Video Options > Time Interpolation:
- Frame Sampling: repeats or drops frames. Choppy but crisp; good for a deliberate staccato look.
- Frame Blending: cross-fades between frames. Smoother, with some ghosting.
- Optical Flow: analyses motion to create new frames. Smoothest when it works, but can warp fast or complex movement, and needs rendering for smooth preview.
Try Optical Flow first; switch to Frame Blending if moving edges warp.
Get Better Slow Motion with High-Frame-Rate Footage
Footage shot at a higher frame rate than your sequence gives the cleanest slow motion. A 60 fps clip in a 24 fps sequence can play at 40% speed using real frames only (24 divided by 60).
To make the whole clip slow motion before editing:
- Right-click the clip in the Project panel.
- Choose Modify > Interpret Footage.
- Select Assume this frame rate and enter your sequence frame rate, such as 24.
- Click OK.
The clip now plays as smooth, fixed-speed slow motion. Add Time Remapping on top to ramp back to real time.
Tips for Better Ramps
- Ramp on motion. Slow down at the peak of an action: a jump, a splash, a turn.
- Cut on the beat. Line up the return to full speed with a beat in the music.
- Keep ramps short. A few frames to half a second usually feels punchier than a long transition.
- Nest complex clips. If a clip has effects or multiple edits, right-click and choose Nest before remapping so the whole result ramps together.
- Handle audio separately. Time Remapping changes video only, so linked audio drifts out of sync during the ramp. Replace it with music or effects, edit it separately, or use Speed/Duration, which can also adjust audio.
For more timeline speedups, see 10 Premiere Pro keyboard shortcuts for everyday editing.